
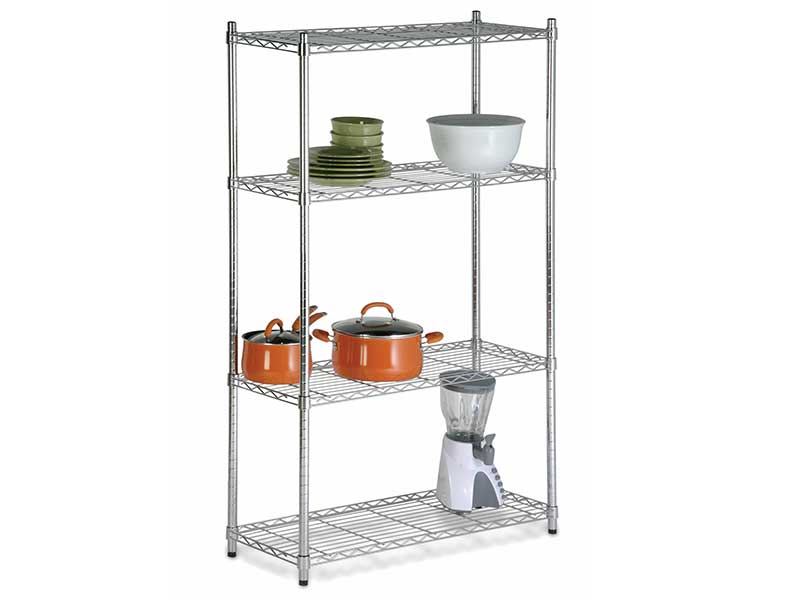
Aceally’s wire shelving system is quite possibly the simplest shelving solution. The system consists of only four components. The first is the column (upright) with spot welded fixing fittings at the bottom. The second component is the adjustable legs that simply screw into the column to stabilize the wire shelf on uneven surfaces. Next are the tapered black plastic shelf support clips, narrower at the top than the bottom, with ridges inside to fit the grove of posts, these simply clip onto the post and join the two halves together around the post. Once you have secured all four shelf support clips to the four posts, slide the wire shelf onto the posts via the rings welded to the four corners of the wire shelf.
I have assembled many wire shelf racks within the last few years and the process has definitely gotten easier and faster. Here are some tips I’ve learned through this process.
1. Read the instructions carefully
If you have never assembled a wire rack before, read the instructions. Make sure you understand how it should fit together.
After reading the instructions, consider the following tips.
Always make sure you have all the parts you need before you start.
2. Don’t connect the pole sections right away
Most taller wire rack units, like my 6 foot tall one, have two parts of the rod that screw together. Once I’m sure I have the right pieces, sometimes I connect them together, sometimes I don’t.
For today’s wire rack assembly, I didn’t connect the poles together first. I started at the bottom and installed the 2 racks before attaching the top pole.
3. Place the first shelf on its side
I start by attaching the plastic brackets to the 4 bars or bottom bar section of the lowest shelf while keeping the shelf vertical.
Actually, no, the first thing I have to do is install casters or leveling legs. Then I attach the first set of shelf brackets.
Hold the rack vertically and insert the first 2 rods into the rack support holes. I try to make sure the plastic sleeve around the shelf is fairly solid.
I will then insert the other two rods through the upper holes of the shelf – those located at the top of the shelf vertically.
If I have a helper, I can usually do pretty well with fully assembled poles. If it’s just me, I’ll use the shorter, half-length bottom pole.
I twist the top 2 poles slightly to make the plastic shelf support a little firmer, then lower the shelf until all 4 casters or leveling feet are on the floor.
I would then apply some weight or pressure to the corners of the bottom shelf, twisting the rods slightly. Or you could grab a deadly hammer or rubber mallet, but I find the twist and press method much easier.
4. Use double wire guidance
Every wire rack unit I have ever assembled has had single slots as well as regularly spaced double slots. These double lines make it much easier to install the plastic brackets one shelf at a time without having to measure anything.
5. or use an altimeter
If you want the shelf to hold something in particular, such as a medium-sized mobile box, place one on the shelf as an altimeter. Make sure there is enough clearance and move the item to each of the 4 corners to ensure that your stand is all mounted at the same height.
6. Hard hammers or rubber mallets are great for placing shelves
Sometimes a quick tap with a dead hammer or rubber mallet can better secure the shelves to the plastic brackets.
Or …… sturdy work boots. Hey, I don’t always have a healthy budget for tools.
7. Place shelves easily
If you slam a shelf on a plastic stand, you are more likely to knock the stand into an improper position. When this happens, you must lift the shelf and secure it in place while reattaching the half brackets.
Placing the shelf on its bracket too quickly can also result in a jam, where one side drops faster than the other. This may require some effort to remedy, such as a quick upward strike with a rubber mallet.
Reader Tip
Fifteen minutes each isn’t bad, but if I wanted to move quickly, I could probably assemble these 18″ x 48″ x 72″ 5-tier metal shelf racks in about 10 minutes or less.
I don’t know how long it took me to assemble my first wire shelving unit, but I’m sure it was much longer than 15 minutes. Hopefully these tips will help you get your wire shelf units faster and easier.
For those of you who have assembled more than a few wireframes yourself, do you have any wireframe assembly tips to share?
Final Tip
I have found that better quality wire frames are usually easier to assemble. The rod sections are easier to screw together, and the plastic shelf support brackets are better made in half. Smaller brackets have thinner rings and slide more easily.
Further Reading:
The necessity of training employees on shelf inspection
Cantilever pallet racking can do wonders for your business warehouse
Guidelines for the use of long-span shelving
Eight Expert Tips for Buying a Pallet Racking System
Benefits of Aceally Cantilever Racking System
Post time: May-07-2022